
- Table of Contents
- Top
- General Settings
- White Balance
- Discussions
General Settings

The following are the calibration settings that were used for the review of the LG LH5700. These settings are good for every use, from movie watching to gaming since the input lag stays about the same across all inputs and picture modes. If you plan to use the TV for gaming or as a PC monitor, first change to the corresponding input icon. For gaming use, select the 'Game' picture mode. You can then follow the settings described below.
Begin by selecting 'Expert (Dark Room)' as the 'Picture Mode Settings'. This picture mode is the closest to our calibration goal. We adjusted the 'Backlight' to 40 to reach our goal of 100 cd/m² but you can change the backlight level to match your room and it will not affect the color.

We also adjusted the 'Contrast' to 100, you can increase this if you would like to have a brighter image without the picture quality being affected at all. We also adjusted the 'H Sharpness' as well as the 'V Sharpness' to 0 so there wouldn't be any over-sharpening. We did not change the value of 'Color' or 'Tint.

We disabled all the processing settings. We also left the 'Color Gamut' to normal and put the 'Gamma' setting to 2.2 as it seemed to benefit our calibration, and it helped avoid crushing the blacks.

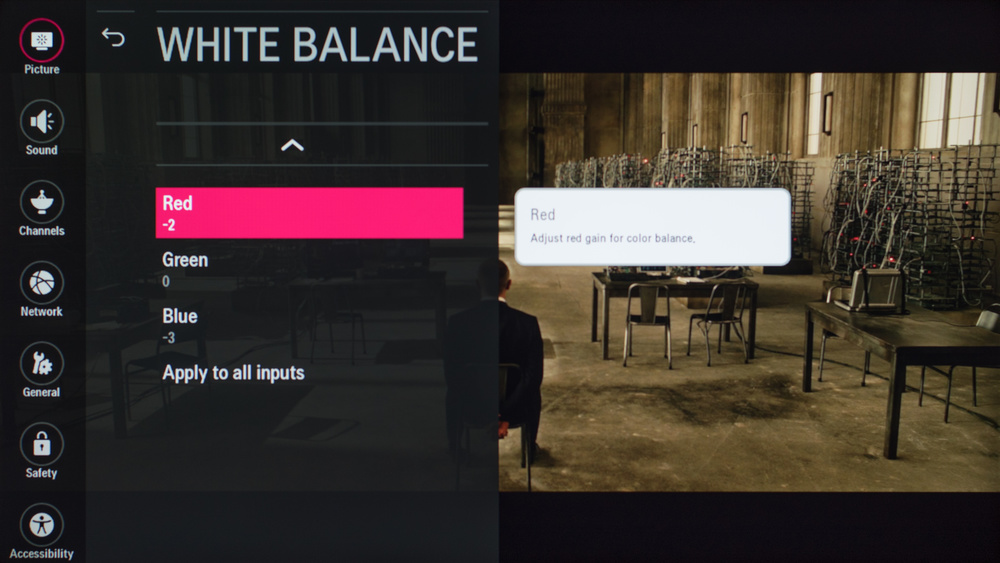
In the 'White Balance' settings we put the 'Color Temperature' to 'Warm1' as it was the closest to our calibrating goal.

In the picture options menu, we left the 'Noise Reduction' and 'MPEG Noise Reduction' off, but if you are watching older and lower resolution content, you might want to turn on. We left 'Black Level' to low, since it was matching our source. You can change this if you find out that it is not matching your source and that the blacks are not deep and are looking grayish. We also left 'Real Cinema' and 'Motion Eye Care' off.
White Balance Settings
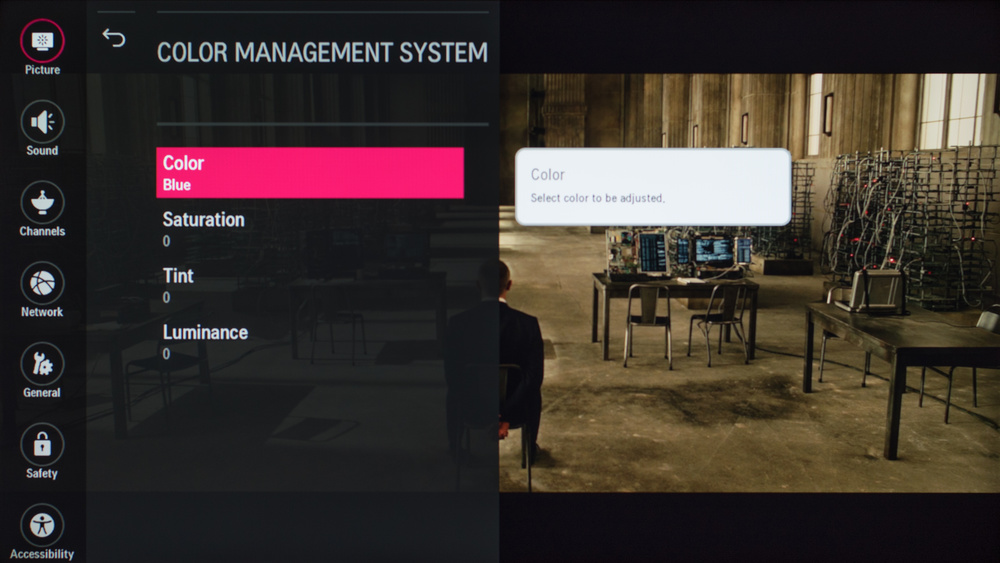
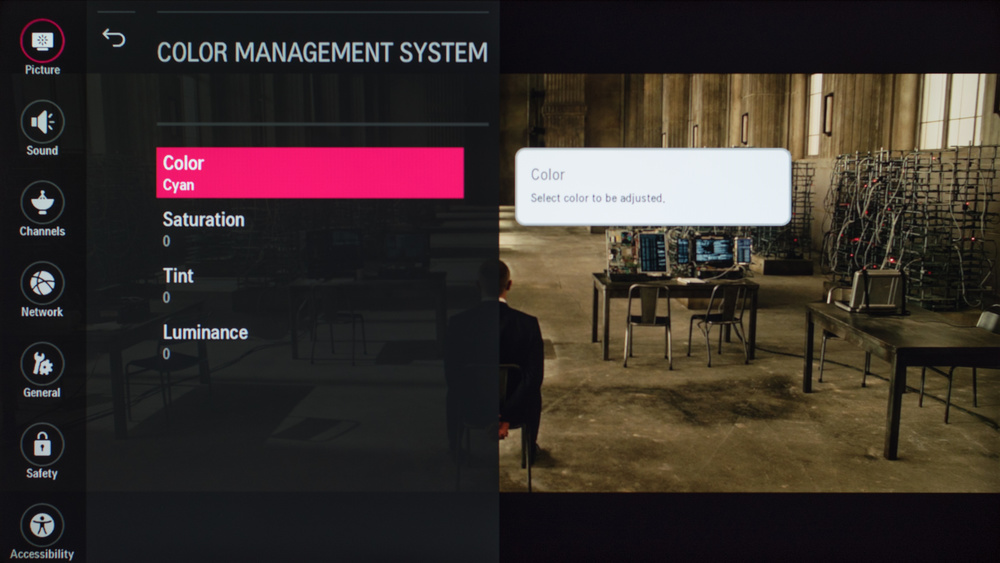
The following are the results of the white balance and colorspace calibration on our unit. They are provided for reference, and should not be copied as the calibration values vary per individual unit even for the same model and same size as the TV we reviewed due to manufacturing tolerances. If you want to try them you will need to enter all values shown, as all of them are active at the same time. If you end up with worse picture quality, simply reset them to the default values.


Recommended Articles


