
- Table of Contents
- Top
- General Settings
- White Balance
- Discussions
General Settings

The following are the calibration settings we used for our review of the LG UH6550. These are best for watching movies, but can be used for gaming and PC use. If you want to use this TV for gaming, simply change the picture mode to 'Game' and if you want to use it as a computer monitor, change the input label to 'PC' to enable chroma subsampling. In both cases, simply copy the rest of the settings from this page.
First thing we did was to disable all of the energy saving settings. If left on, these will change the backlight level to match the room ambient light and this can be distracting to some people.

After, we selected 'Expert (Dark Room)' picture mode, which is recommended for watching movies in a dark room.

To obtain our calibration goal of 100 cd/m² of brightness, we set "Backlight' to 47, but you can change the backlight level to match your room lighting and it won't affect the picture quality. Leave the 'Contrast' at 80 and 'Brightness' to 50, their default values.

We reduced both the 'H Sharpness' and 'V Sharpness' to 0 to avoid any over-sharpening. Also we left 'Color' at 50 and 'Tint' at 0, their default values.

We disabled all image processing, as we aim to have a picture as close to what the content creator intended it to be. This means disabling 'Dynamic Contrast', 'Super Resolution', 'Edge Enhancer' and 'Color Filter'. We also left the 'Color Gamut' to 'Normal' since it is better suited for SDR content. For HDR content, change the 'Color Gamut' to 'Wide' for best performance.
We used a 'Gamma' value of 2.4 since it was the closest to our calibration goal. If you find the shadows are crushed then you can reduce this to a lower value, such as 'BT.1886' or '1.9'.

We used the 'Warm2' color temperature, as it is closest to our goal of 6500K. If you find the picture too yellow or dull, you can adjust this to a cooler value.

We disabled 'Noise Reduction' and 'MPEG Noise Reduction'. Those options are not recommended for high quality content such as Blu-rays but should be enabled to clear up any noise when watching lower quality content such as cable TV and DVDs.
We adjusted the 'Black Level' to 'Low' but this need to be adjusted to match your source. For PC use it is normally a black level of 'Low', and for other devices it is usually 'High'. If incorrectly set, the blacks will appear more gray or shadows may be crushed. 'Real cinema' is only available while some 24p content is playing and is better to be left 'On' if available. It is needed to eliminate judder on 24p content. We disabled 'Motion Eye Care' to reduce processing.
We turned off 'LED Local Dimming' for our calibration. This option can be turned on, especially for HDR content, but the local dimming on this TV is not too good, so we don't recommend to use it. If you want to use it, it is better set to 'Low', since when set to 'High', it darkens the small bright highlights too much.
'TruMotion' is the motion interpolation setting. Enable this if you like the soap opera effect, otherwise leave it disabled.

To use a higher bandwidth source such as 4k @ 60Hz @ 4:4:4, enable 'HDMI UHD Deep Color' for the HDMI port that you will be using.
We found that adjusting the colorspace calibration resulted in artifacts appearing when watching normal content. This occurred when any adjustments were made, so to avoid this we left it untouched.
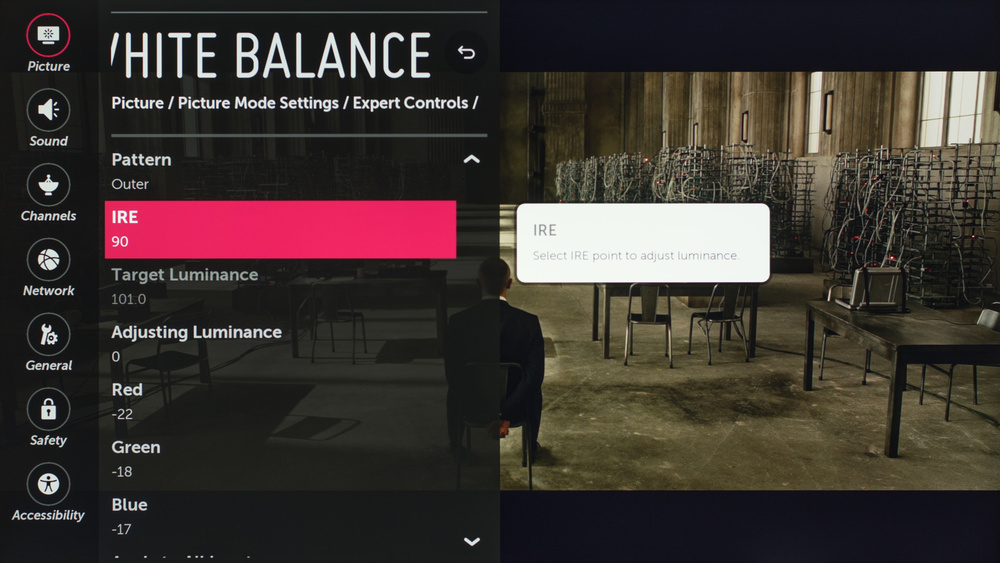
White Balance Settings
The following are the results of the white balance and colorspace calibration on our unit. They are provided for reference, and should not be copied as the calibration values vary per individual unit even for the same model and same size as the TV we reviewed due to manufacturing tolerances. If you want to try them you will need to enter all values shown, as all of them are active at the same time. If you end up with worse picture quality, simply reset them to the default values.


Recommended Articles


