
Samsung Q7CN/Q7C QLED 2018 Calibration Settings
These are the settings we used to calibrate the Samsung 55" QN55Q7CN QLED. For the most part, we expect these settings to be valid for the 65" QN65Q7CN.
General Settings

The first thing we did was to turn off all of the Eco Solution settings since we didn't want the TV's backlight level to change during our calibration. It is also recommended to disable this setting if you don't want the backlight to change depending on the ambient light in your room.

For movies and TV content, the 'Movie' picture mode gave us the most accurate results out of the box. It also produces results closest to our calibration targets, which should be close to what the content creators intended.

A Backlight setting of '6' gave us a luminosity closest to our target of 100 cd/m² which we use for calibration. Most people will find this too dim and you should change this setting as changing this has no impact on picture quality. We left the Brightness to '0' and the Contrast to '45'. We left the Sharpness to '0' to avoid adding any sharpening. We left Color to '25' and the Tint (G/R) to their default values of 'G0 and R0'.

We turned off the Digital Clean View, but if you are watching some older low-resolution content, you may want to set it on to make the content smoother and with fewer compression artifacts. We also left Contrast Enhancer turned off, as we don't want to add any additional picture processing.

We set the Local Dimming to 'Low' for the calibration (usually, we turn it off for the calibration, but like most Samsung TVs, it is not possible for the Q7CN). We calibrate with the lowest setting possible for consistency, but we recommend setting the local dimming to 'High' and gradually lower your selection if you are bothered by the TVs dimming behavior.
Judder control and Motion Interpolation (Soap Opera Effect)

The Auto Motion Plus Settings sub-menu controls the motion interpolation and the way the TV deals with judder. This is also known as the 'Soap Opera Effect'. If it is turned off, the TV won't be able to remove judder from any sources (Blu-ray players, native apps or cable boxes). To get the best judder-free movie experience, set the Auto Motion Plus setting to 'Custom', set the Blur Reduction to '0', set Judder Reduction to '0' and leave the LED Clear Motion disabled. This won't add any soap opera effect.
The Auto Motion Plus Settings also controls the Q7CN's motion interpolation. The Q7 can interpolate lower frame rate content up to 120Hz. To do so, set Auto Motion Plus to 'Custom' and increase the Blur Reduction and Judder Reduction sliders. The Judder Reduction slider affects 30 fps or lower content, and the Blur Reduction slider affects 60fps content. For both sliders, you can adjust the setting to your liking to add more or less soap opera effect.
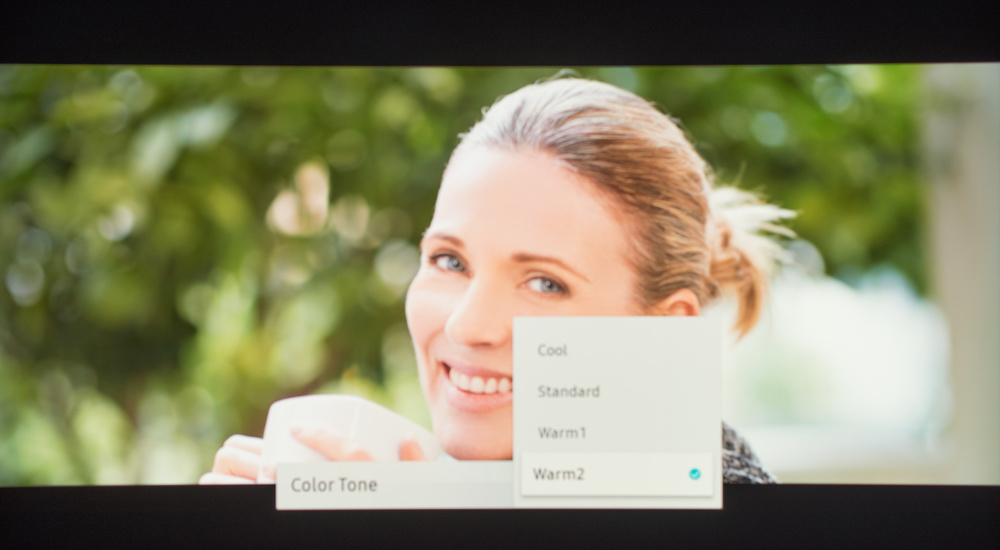


We selected the 'Warm2' Color Tone since it was the closest to our calibration goal, but you can change it depending on your preference.
The Gamma setting adjustment was set to '+2' since it was the closest to our calibration goal. The TV will automatically set the Gamma type automatically depending on the content. You should only adjust the gamma curve with the slider (plus or minus) if you find there is black crush or if dark scenes are not deep enough.
In the Color space setting, it is preferable to leave it to 'Auto'. When set to auto, the color space changes to match the type of content you are watching automatically. Setting the Color space to 'Custom' will allow calibrating the TV for SDR content. Normally we do not recommend doing this as the TV is already fairly accurate out of the box. If you set the Color Space to 'Custom' you will have to adjust the settings each time you change from SDR to HDR.
HDR Settings

For watching HDR content via an HDMI connection, it is important to set the HDMI UHD Color to 'on' for each HDMI input that will receive the HDR content. This will permit the HDMI port to transmit all the bandwidth needed for HDR and tells the TV to expect a 10-bit color signal on that input. If it is not turned on, some devices will not detect the Q7CN as being compatible with HDR. For HDR content, However, do not set all HDMI inputs to on by default as older devices might not be compatible with this. it is also preferable to set the Backlight to maximum, set Local Dimming to 'High' and set the Color Space Settings to 'Auto'.
PC Settings

To enable chroma subsampling when playing from a PC, set the Input icon to 'PC' under the Input Device Manager submenu. This will automatically disable almost all image processing and ensure the best possible input lag. HDMI UHD Color must also be enabled for the HDMI port the PC is connected to.
When in PC mode some settings will change, including Sharpness. When in PC Mode Sharpness defaults to '10', which is the neutral setting with no added sharpness. It is not possible to add sharpness. Reducing the setting will soften the image.
Gaming Settings

To enable Game Mode, select 'External Device Manager' from the General menu, and then select 'Game Mode Settings'. Set Game Mode to 'On'. If you have a supported game console (currently PS4 or Xbox One) the TV will have an 'Auto' option; which when enabled, the TV will automatically enter game mode when a game is detected.
Game Motion Settings

On the Q7CN, there are new options for Game Mode including the ability to interpolate lower frame rate games up to 120Hz. To enable motion interpolation select 'Game Motion Plus Settings'. From there you can adjust the Blur Reduction and Judder Reduction sliders to whichever you prefer. To interpolate low frame rate games up to 60 Hz, set Judder Reduction to 10, and Blur Reduction to '0'. To interpolate up to 120 Hz, set both sliders to '10'. There is a small increase in input lag when using these options, but it is still low.

If you have a compatible graphics card or an Xbox One X/S you can enable 'FreeSync' from the Game Motion Plus Settings which help prevent tearing in graphics demanding games.
HDR Gaming Settings
For HDR gaming, apply the same HDMI settings mentioned in the HDR settings and game settings above. Note that when in game mode, the TV won't change the backlight setting and the local dimming setting automatically, so it is preferable to set the backlight to 'Max' and set the local dimming to 'High'.
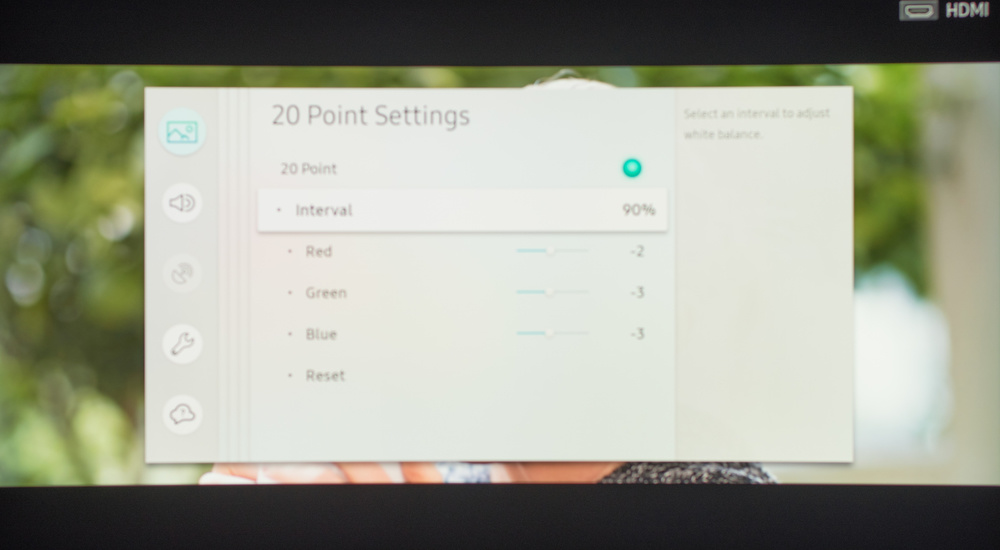
White Balance Settings
The following are the results of the white balance and colorspace calibration on our unit. They are provided for reference, and should not be copied as the calibration values vary per individual unit even for the same model and same size as the TV we reviewed due to manufacturing tolerances. If you want to try them you will need to enter all values shown, as all of them are active at the same time. If you end up with worse picture quality, simply reset them to the default values.


Recommended Articles


