
Here are the following settings we've used for the calibration of the LG 49" LJ5500 (49LJ5500), and these should also work for the 43" variant (43LJ5500), and the 55" variant (55LJ5500). These settings should work with everything except for gaming which requires some minor changes, which we list below.
General settings

The first thing we did was to select the 'ISF Expert (Dark Room) since it was the picture mode that gave us the closest result to our calibration goal. We set the 'Aspect Ratio Settings' to 'Original' since we did not want our input to be stretched in any way (the 'Just Scan' option was set to 'On'). You could change it to a mode that stretches the original content to fill up the screen completely if you are watching some lower resolution content. We then turned 'Off' the 'Energy Saving' mode, so that the TV would remain the same no matter how bright the room is. Finally, the 'Eye Comfort Mode' was left off, since we do not want the color temperature of the TV to change by itself depending on the content played.

For review purposes and in our completely dark room, we adjusted 'Backlight' to 31 to reach our desired luminance of 100 cd/m². You should adjust it to match your room environment. For a brighter room, this will need to be increased. Note that this does not affect the color accuracy, only the luminance of the display. We then set the 'Contrast' to 100 since we could get a better contrast without inducing any clipping on this unit. We left 'Brightness' to 50, its default value and set both the 'H Sharpness' and 'V Sharpness' were set to 0 since we did not want to add any oversharpness.

We left 'Color' to 50 and 'Tint' to 0, their default values.

In the 'Expert Controls' settings page, we turned off 'Dynamic contrast', 'Super Resolution', 'Edge Enhancer' and 'Color Filter'. We then set the 'Color Gamut' to 'Auto' since when set to 'Auto' the TV will set the 'Color Gamut' automatically to match the video source. The gamma was changed to 2.2, since it is the gamma that we aim for during calibration.

In the 'White Balance' settings, we selected 'Warm2' from the 'Color Temperature' settings since it is closest to our calibration goal, but in your home setting, you can change to a colder color temperature if you find the screen being too yellowish or red.

In the 'Picture Options' menu, we turned off 'Noise Reduction' and 'MPEG Noise Reduction', but you can turn on these on if you are watching older low-resolution content, as it may help reduce visual noise and compression artifacts. We set the 'Black Level' to 'Low' to match our source 'Output Dynamic Range'. When set wrong, blacks will look much more grayish or may be crushed. We left 'Motion Eye Care' off since we did not want the TV to change brightness automatically depending on the displayed scene. The 'Real Cinema' option should be turned on if you are watching a 24p movie via a DVD or Blu-ray player in order to have a judder-free movie.
Gaming settings

To get the best input lag possible when gaming, you need to set the 'Picture Mode' to 'Game'.
Miscellaneous settings
If you want to activate the Chroma subsampling (4:4:4) on the LH5500, you need to set the 'Input Label' to 'PC' (from the input menu) for the HDMI port where your device is connected.
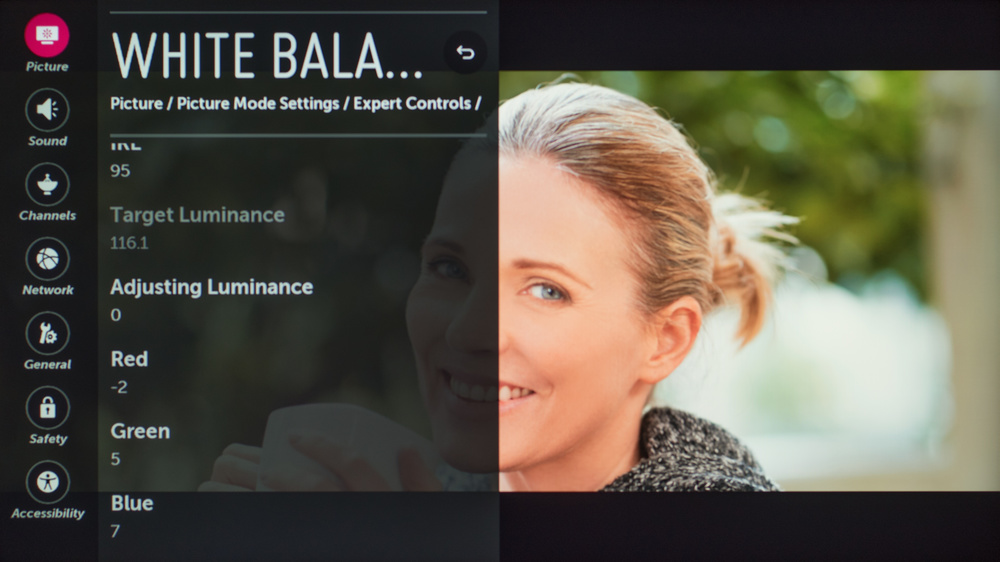
White Balance Settings
The following are the results of the white balance and colorspace calibration on our unit. They are provided for reference, and should not be copied as the calibration values vary per individual unit even for the same model and same size as the TV we reviewed due to manufacturing tolerances. If you want to try them you will need to enter all values shown, as all of them are active at the same time. If you end up with worse picture quality, simply reset them to the default values.


Recommended Articles


