
- Table of Contents
- Top
- General Settings
- White Balance
- Discussions
General Settings

Below are our calibration settings used in the review of the LG UH6500. They are designed for watching movies, but will work well for any other content after applying the tweaks described below.
First we disable all eco settings to get the best performance, and to disable automatic screen brightness.
For watching movies, we select the 'Expert (Dark Room)' picture mode. For those who plan to play video games, first change the input icon to 'Game Console' and then select the 'Game' picture mode. This provides the lowest input lag. For best performance as a PC monitor, change the input icon to 'PC' and then select the 'Game' picture mode. This provides chroma support for clear text, and low input lag.

We set the backlight to 44, as it is closest to our calibration goal of 100 nits for a completely dark room. You can adjust this to suit your ambient lighting without affecting the picture quality. We leave the contrast to the default value of 80.
To obtain the most true image and to avoid over-sharpening we set both 'H Sharpness' and 'V Sharpness' to 0.

We leave 'Color' and 'Tint' to the default values.

We aim for a picture which is as close as possible to the source, and so we turn off all the image processing (Dynamic Contrast, Super Resolution and Edge Enhancer).
We leave the color gamut to 'Normal' for this SDR calibration, to avoid over saturation of colors. We set the gamma to 'BT. 1886'.

We use the 'Warm1' color temperature, as it is closest to our warm calibration goal of 6500K. If you find the picture too yellowish you can use a cooler value.

To use a higher bandwidth source such as 4k @ 60Hz @ 4:4:4 or HDR, enable 'ULTRA HD Deep Color' for the HDMI port.
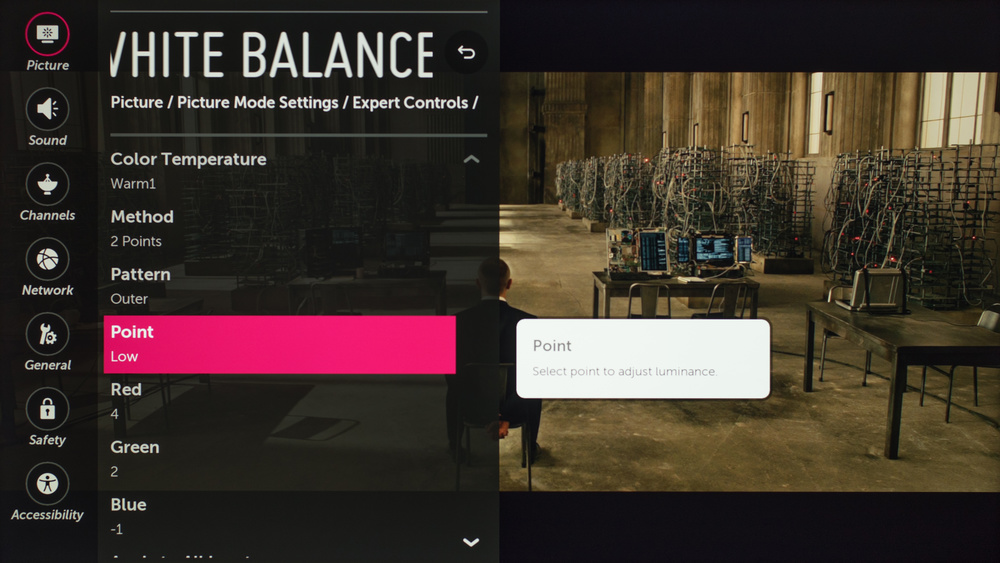
White Balance Settings
The following are the results of the white balance and colorspace calibration on our unit. They are provided for reference, and should not be copied as the calibration values vary per individual unit even for the same model and same size as the TV we reviewed due to manufacturing tolerances. If you want to try them you will need to enter all values shown, as all of them are active at the same time. If you end up with worse picture quality, simply reset them to the default values.


Recommended Articles


